Overview
Update Billing Address lets your AI Agent update a customer’s billing details (address, city, state, postal code, country, etc.) in your connected Stripe account—right from the chat. Note: This action won’t work in Slack or the in-app chat window. Example: A user says, “I moved—please update my billing address.” The AI Agent opens a short form, collects the new details, and updates the customer in Stripe.How to Create a Update Billing Address
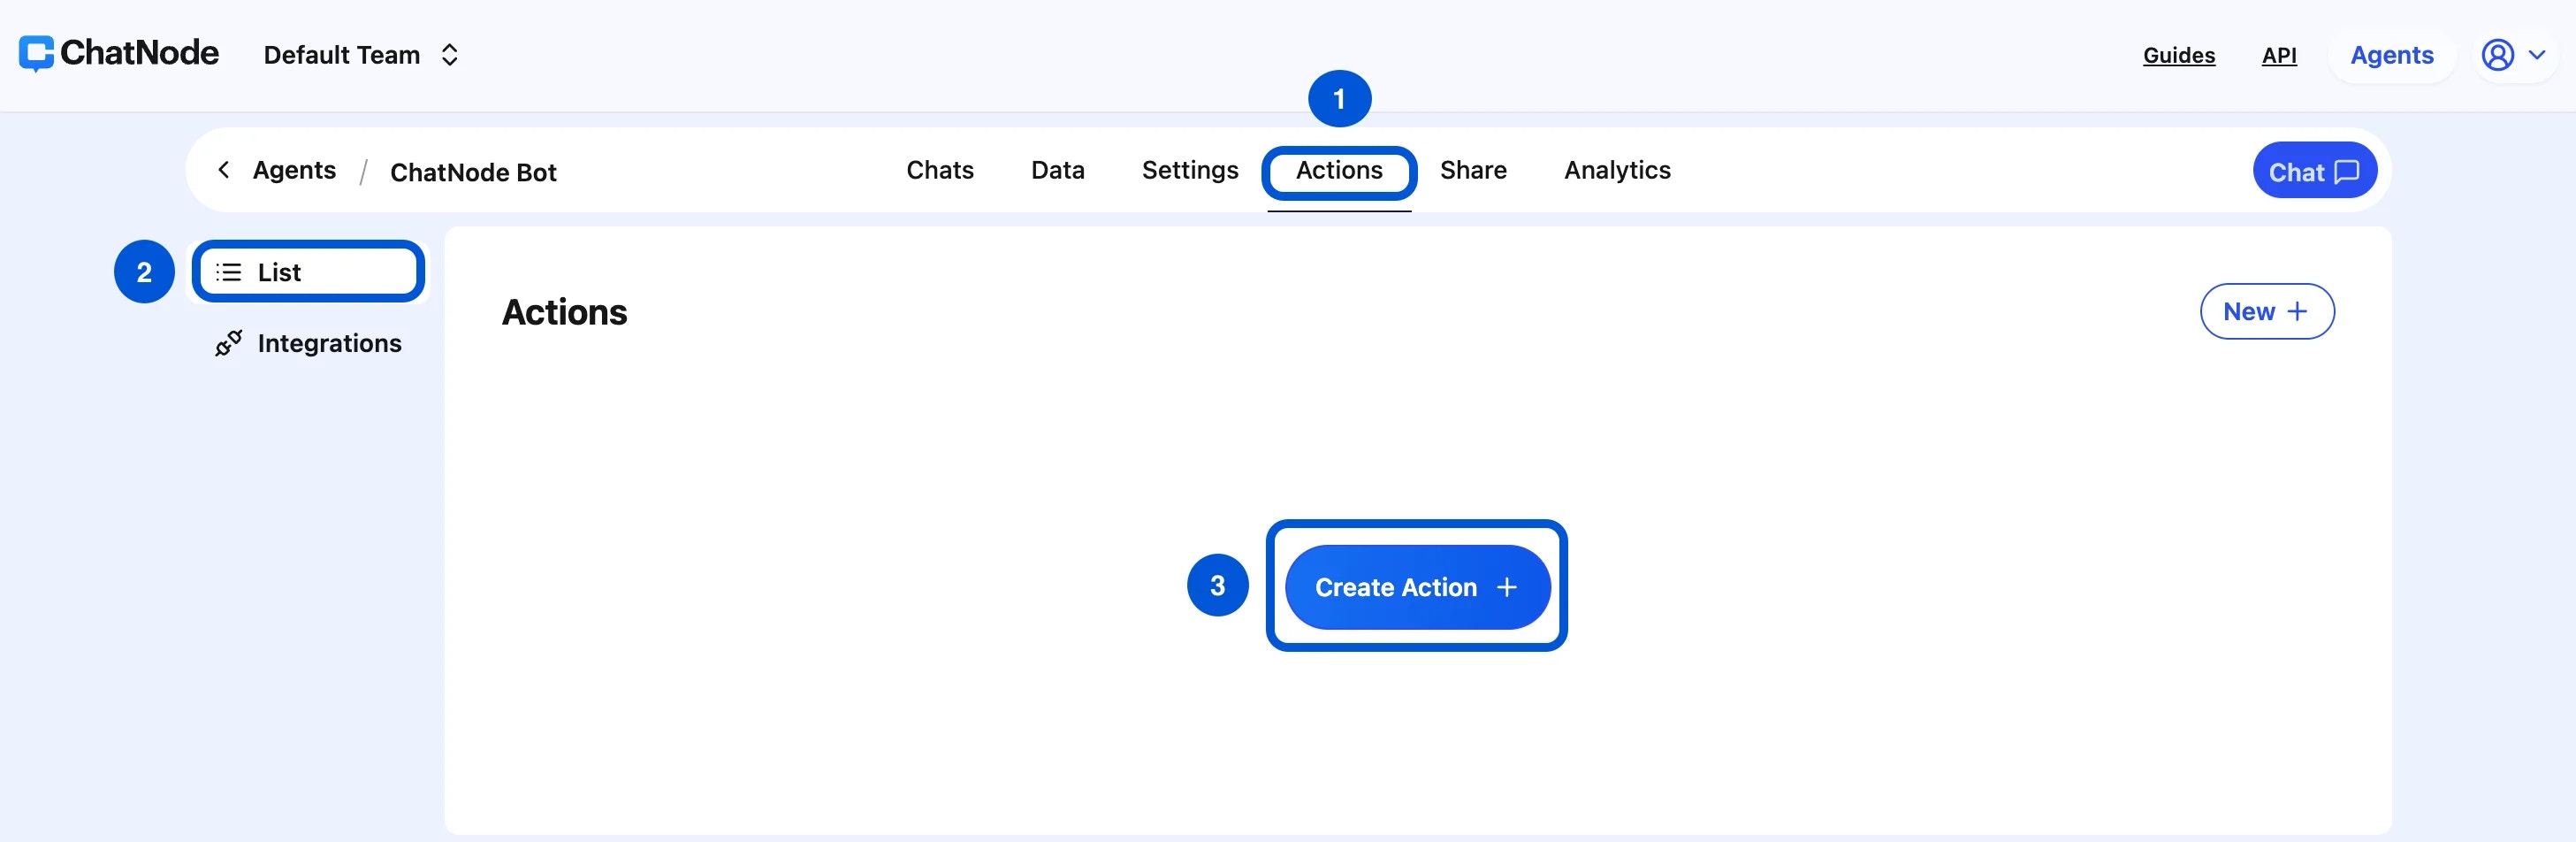
Step 1: Create the Action
- Go to the Actions tab.
- Click List in the left menu.
- Select Create Action.
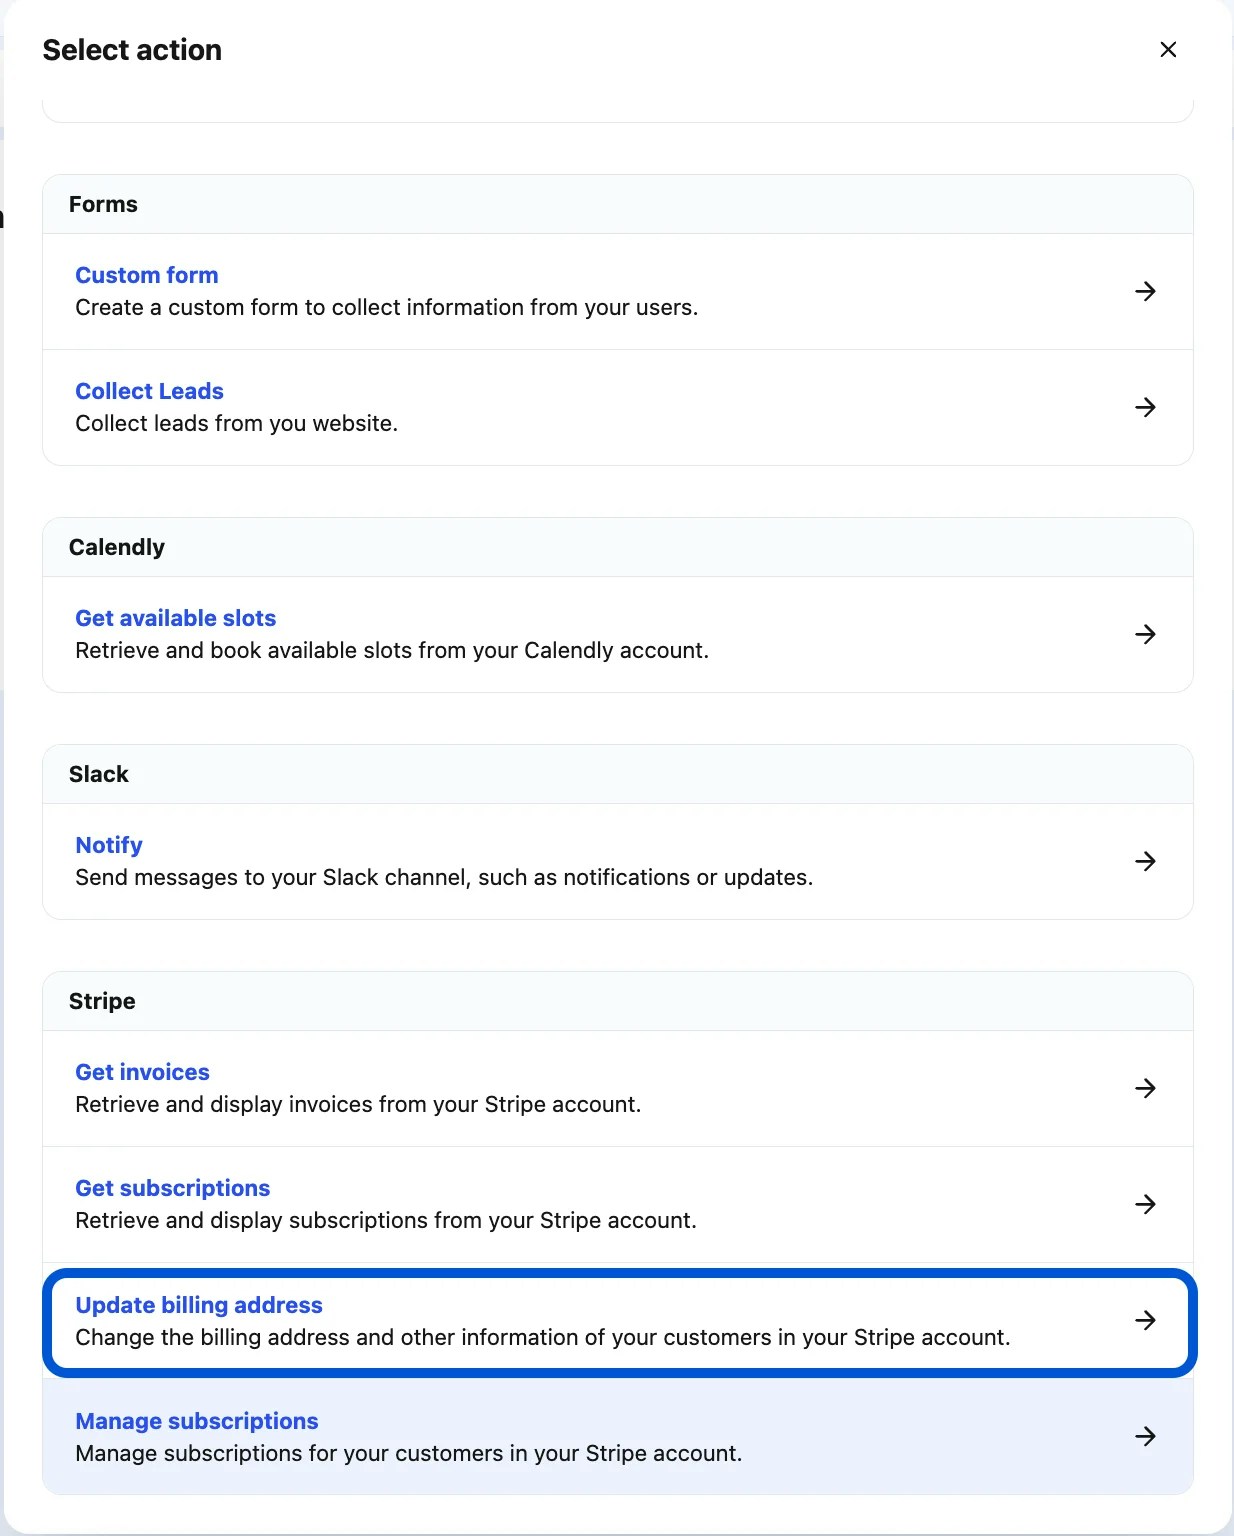
- Under Stripe, choose Update billing address.
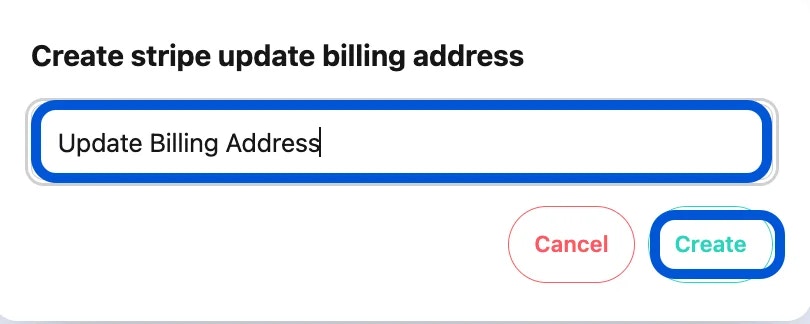
- Enter an Action Title (e.g., Update Billing Address) and click Create.
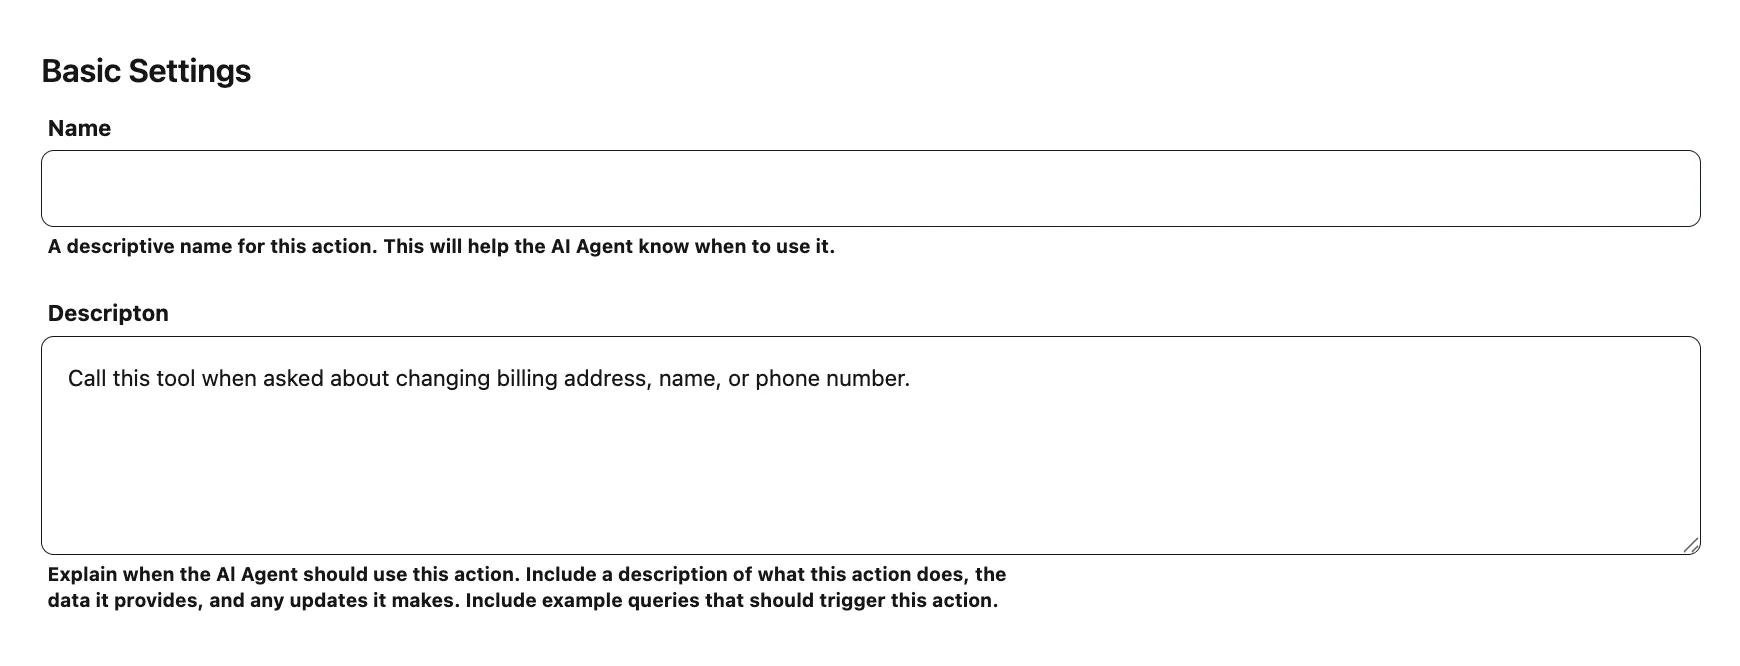
Step 2: Basic Settings
- Name - Give the action a clear identifier (e.g., updateStripeBillingAddress).
- Description - Explain when the AI Agent should use it. For example: Update a customer’s billing address in Stripe. Prompt the user for address fields (street, city, state/province, postal code, country) and confirm once saved.
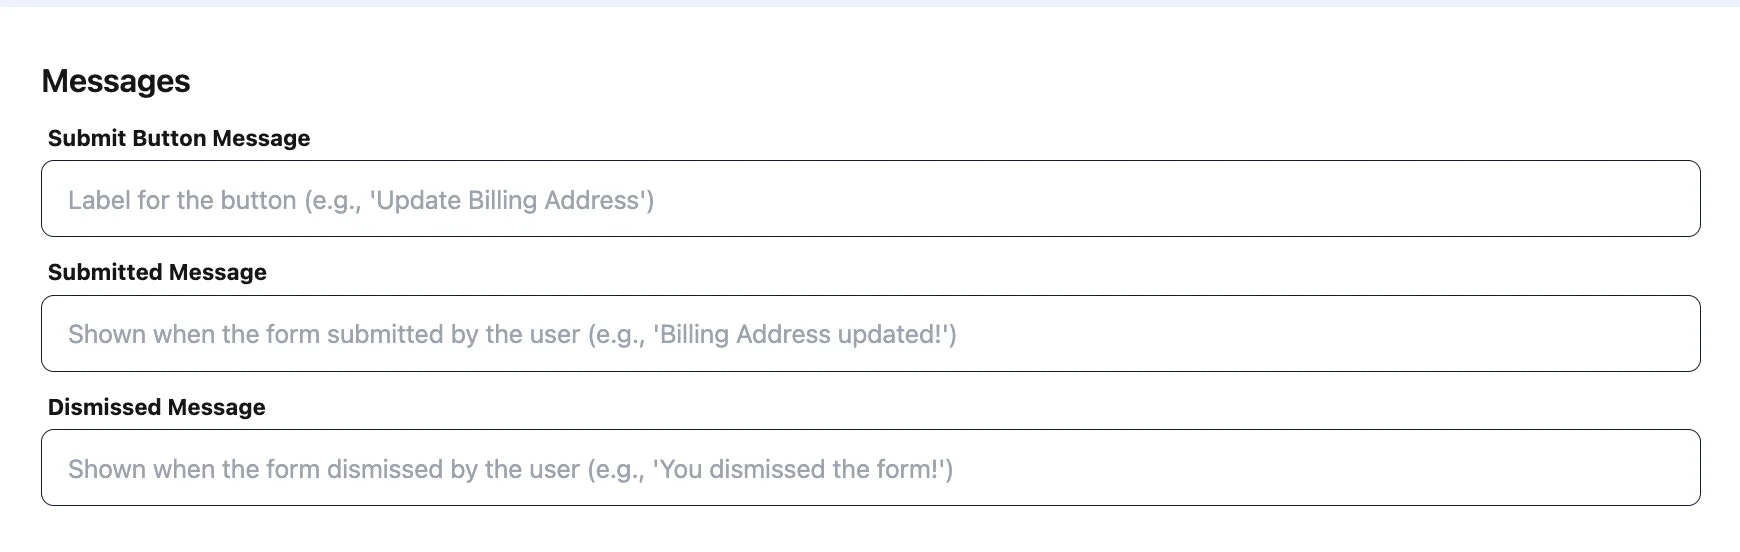
Step 3: Messages (Form UX)
Configure the user-facing messages shown during the update:- Submit Button Message - Button label (e.g., Update Billing Address).
- Submitted Message - Confirmation after success (e.g., Billing address updated!).
- Dismissed Message - If the user closes the form (e.g., You dismissed the form.).
Step 4: Enable the Action
Use the toggle at the top to switch Enable on. (You can disable it any time with the same toggle.)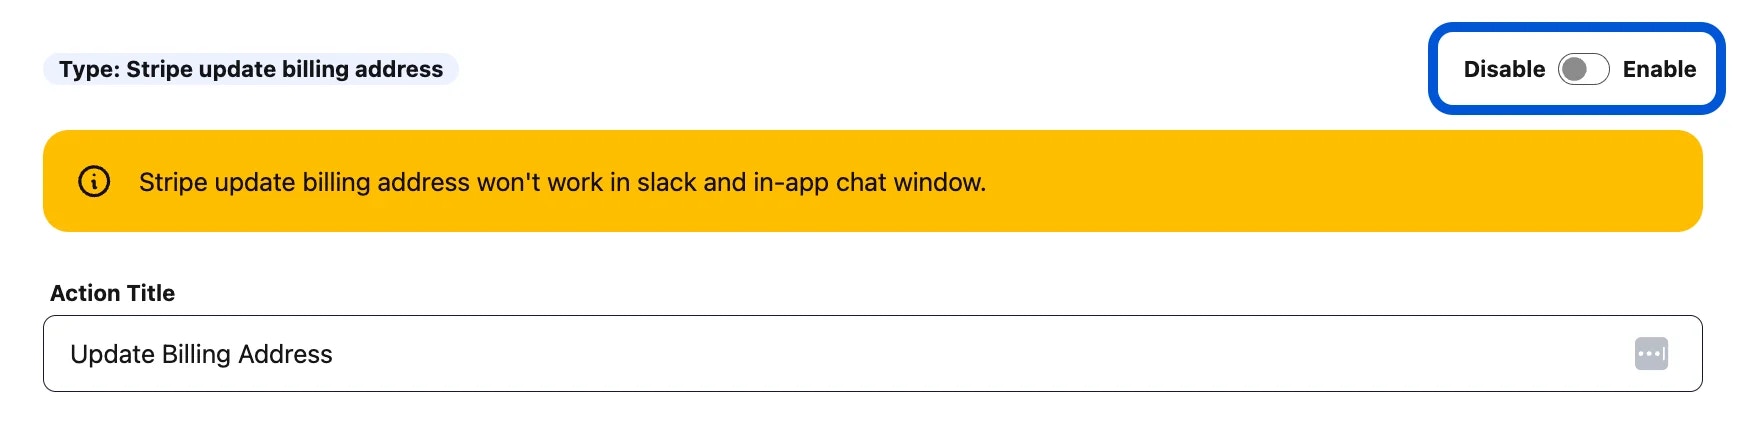
Example Workflow
- User: “I need to change my billing address.”
- AI Agent triggers Update Billing Address and shows the form.
- User enters new address details and clicks Update Billing Address.
- Stripe is updated; the agent replies: “All set! Your billing address has been updated.”