> ## Documentation Index
> Fetch the complete documentation index at: https://docs.chatnode.ai/docs/llms.txt
> Use this file to discover all available pages before exploring further.
# Stripe
Integrating ChatNode with Stripe allows your agent to retrieve invoices, track subscriptions, and update billing details directly from your Stripe account. Follow these steps to set up the integration.
## Step 1: Go to the Integrations Page
* Once logged in, navigate to the **Actions** section.
* In the left-hand panel, click **Integrations** to view the available third-party apps.
## Step 2: Locate Stripe
* Click **Stripe**.
* Click the **Connect** button to begin the setup process.
 ## Step 3: Open the Stripe Installation Window
* After clicking **Connect**, a new window from Stripe will appear.
* This is the **Stripe Apps** installation screen where you can add the app to your account.
## Step 4: Install the App
* Click **Continue**.
* This allows the app to be added to your Stripe account.
## Step 3: Open the Stripe Installation Window
* After clicking **Connect**, a new window from Stripe will appear.
* This is the **Stripe Apps** installation screen where you can add the app to your account.
## Step 4: Install the App
* Click **Continue**.
* This allows the app to be added to your Stripe account.
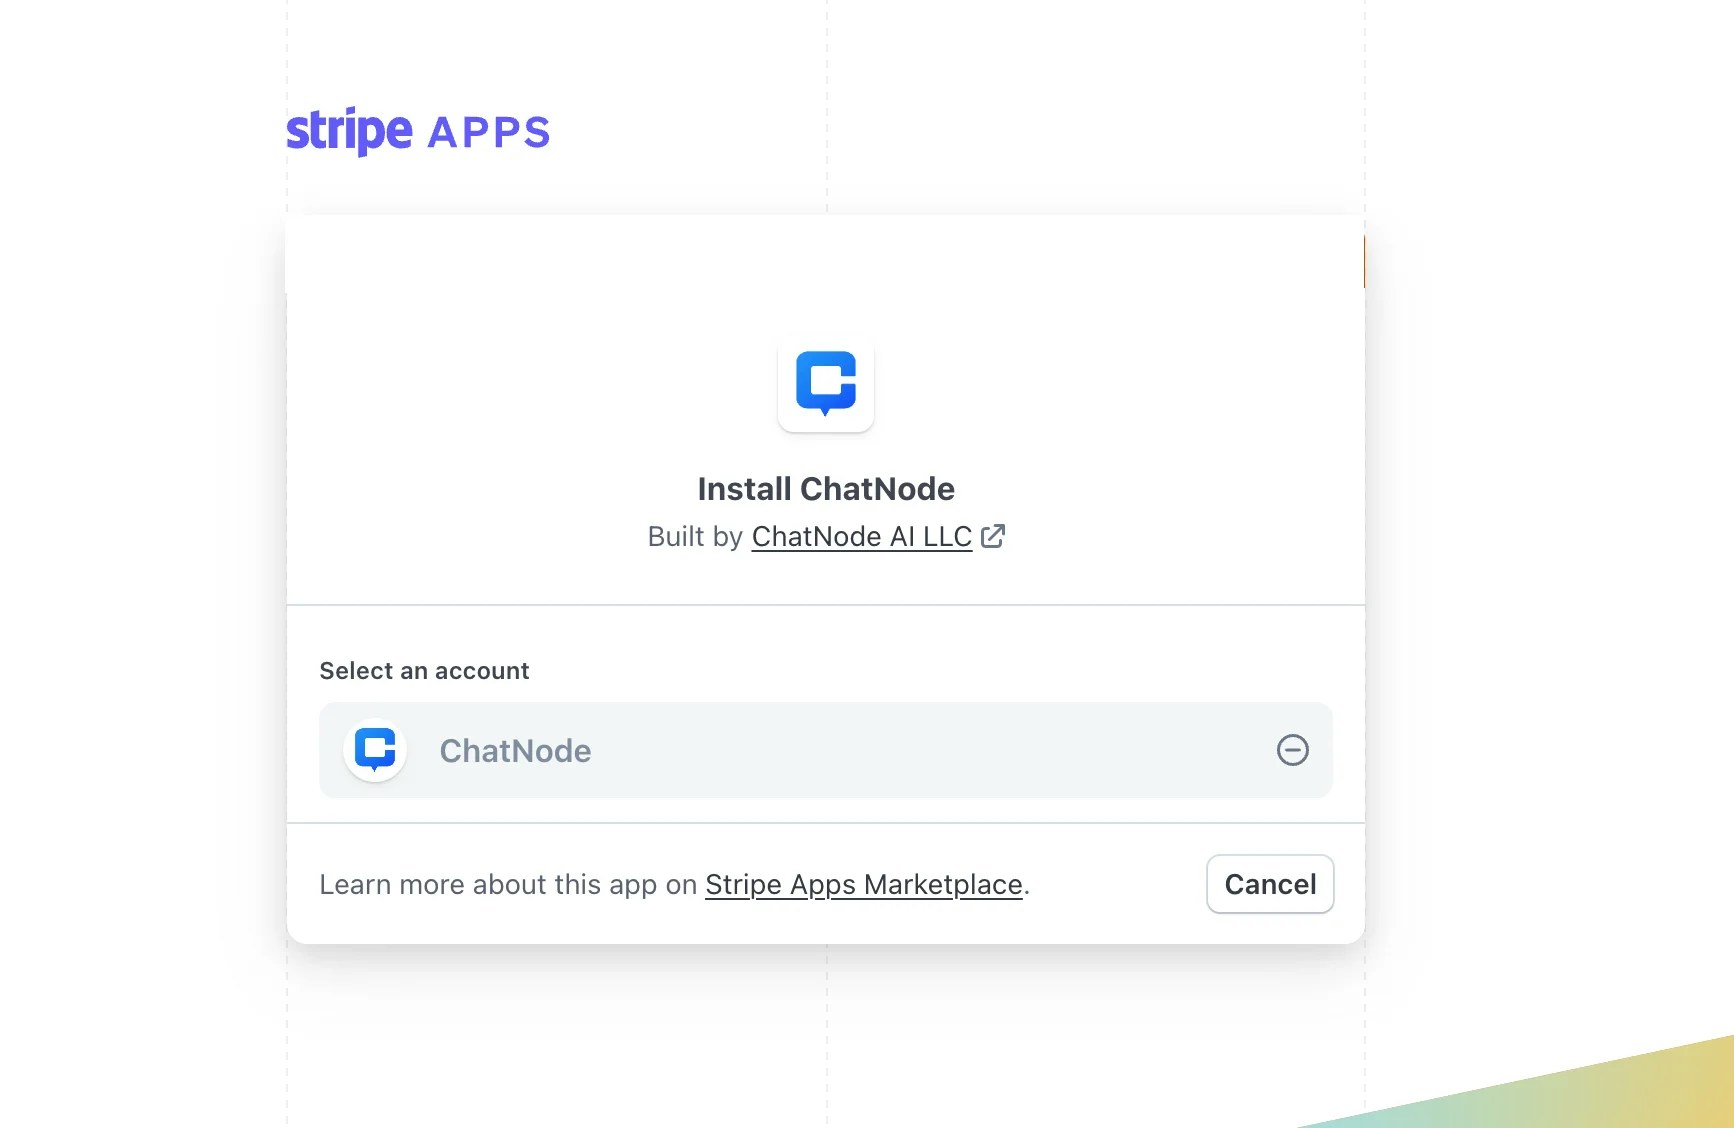 ## Step 5: Select Your Stripe Account
* Choose the Stripe account you want to connect from the list displayed.
* Confirm your selection to complete the installation.
## Step 5: Select Your Stripe Account
* Choose the Stripe account you want to connect from the list displayed.
* Confirm your selection to complete the installation.
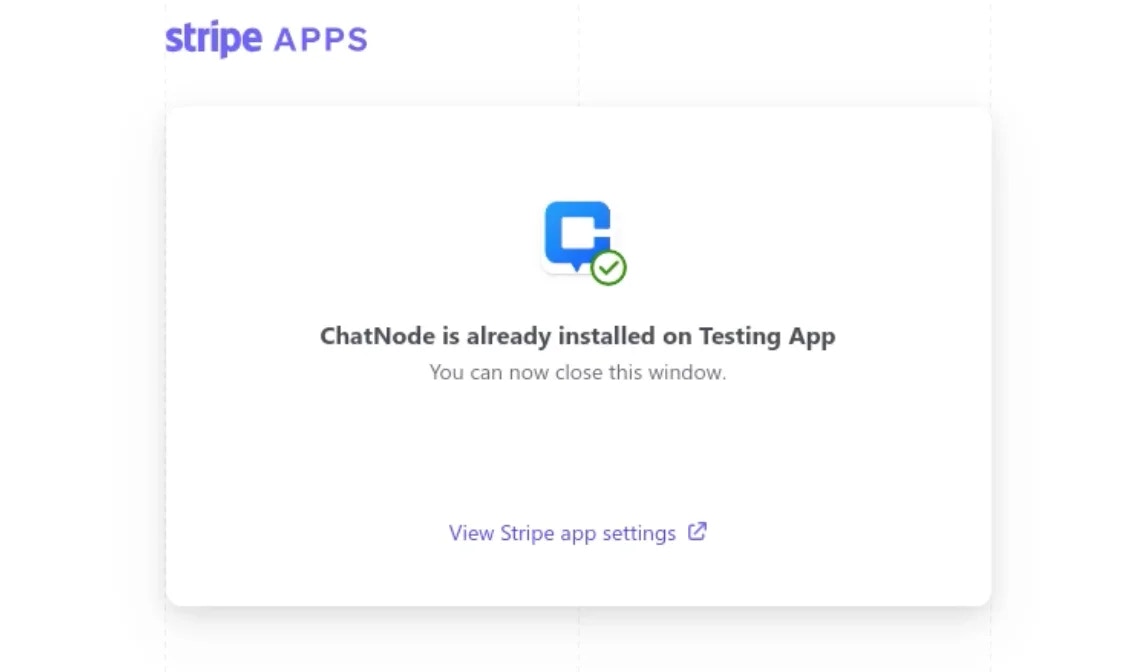 ## Step 6: Confirm the Connection
* Once installed, you’ll be automatically redirected back to the integrations page.
* The Stripe app should now appear as **connected**.
You have now successfully connected the Stripe app. You may proceed with configuring your workflows.
### **Using Stripe with AI Actions**
Once connected, you can enhance your chatbot by enabling AI-powered Stripe Actions. These actions allow your bot to interact directly with your Stripe account and provide real-time billing support to your customers.
Here are the 3 available Stripe AI Actions:
**1. Get Invoices**
* Retrieve and display invoices from your Stripe account.
* Can be filtered by status: **draft**, **open**, **paid**, etc.
* **Example:** A user asks: “Can you show me my last paid invoice?” → Your bot fetches and displays it.
**2. Get Subscriptions**
* Retrieve and display customer subscriptions.
* Useful for showing **active**, **canceled**, or **past** subscriptions.
* **Example:** A customer asks “What subscriptions do I currently have with you?” → Your bot lists all active subscriptions.
**3. Update Billing Address**
* Update customer billing details (address, postal code, etc.) directly in Stripe.
* Example: A customer says “I moved to a new address, please update my billing details.” → Your bot updates their Stripe profile.
## Step 6: Confirm the Connection
* Once installed, you’ll be automatically redirected back to the integrations page.
* The Stripe app should now appear as **connected**.
You have now successfully connected the Stripe app. You may proceed with configuring your workflows.
### **Using Stripe with AI Actions**
Once connected, you can enhance your chatbot by enabling AI-powered Stripe Actions. These actions allow your bot to interact directly with your Stripe account and provide real-time billing support to your customers.
Here are the 3 available Stripe AI Actions:
**1. Get Invoices**
* Retrieve and display invoices from your Stripe account.
* Can be filtered by status: **draft**, **open**, **paid**, etc.
* **Example:** A user asks: “Can you show me my last paid invoice?” → Your bot fetches and displays it.
**2. Get Subscriptions**
* Retrieve and display customer subscriptions.
* Useful for showing **active**, **canceled**, or **past** subscriptions.
* **Example:** A customer asks “What subscriptions do I currently have with you?” → Your bot lists all active subscriptions.
**3. Update Billing Address**
* Update customer billing details (address, postal code, etc.) directly in Stripe.
* Example: A customer says “I moved to a new address, please update my billing details.” → Your bot updates their Stripe profile.